在 ao 中创建 Token
创建 token 时,我们将遵循Token 规范中概述的原则,并使用ao中的Lua 语言铸造。
创建 Token 的两种方式:
1 - 使用 token 蓝图(token blueprint):
.load-blueprint token 使用蓝图将创建一个 token,其中所有 Handler 和状态都已经定义。这是创建 token 最简单的方法。加载蓝图后,你可以自定义这些 Handler 和状态。
你可以在此处了解更多有关蓝图的信息:蓝图
INFO
虽然使用 token 蓝图虽然可以快速创建,但你仍然需要了解如何进行加载和测试, 以便根据需要进行自定义。
2 - 从零开始构建:
以下指南将指导你完成从零开始创建 token。这是创建 token 的一种更高级的方法,可以让你更好地理解 token 的工作原理。
准备工作
步骤 1:初始化 Token
- 打开你的文本编辑器,最好是在与之前教程中使用的文件夹相同的位置中打开。
- 创建一个名为
token.lua的新文件。 - 在
token.lua文件中,首先,初始化 token 的状态,定义其余额、名称、代码等:
local json = require('json')

if not Balances then Balances = { [ao.id] = 100000000000000 } end

if Name ~= 'My Coin' then Name = 'My Coin' end

if Ticker ~= 'COIN' then Ticker = 'COIN' end

if Denomination ~= 10 then Denomination = 10 end

if not Logo then Logo = 'optional arweave TXID of logo image' end
让我们梳理一下我们所做的工作:
local json = require('json'): 这行代码首先导入了一个模块供以后使用。if not Balances then Balances = { [ao.id] = 100000000000000 } end: 第2行代码正在初始化一个叫做 Balances 表格,此表格用于记录谁拥有 Token 和持有的数量。设置 ao.id 账户为初始的 token 持有者,并拥有所有 token 的初始余额。接下来的 4 行,除了
if Denomination外,if Name、if Ticker、if Denomination和if not Logo都是可选项,它们分别用于定义 token 的名称、代码、最小单位和LOGO。
INFO
if Denomination ~= 10 then Denomination = 10 end 表示我们应该将多少个 token 视为一个单位。
步骤 2:信息和余额的 Handlers
消息的 Handlers
现在让我们添加第一个 Handler 来处理收到的消息。
Handlers.add('info', Handlers.utils.hasMatchingTag('Action', 'Info'), function(msg)
  ao.send(
      { Target = msg.From, Tags = { Name = Name, Ticker = Ticker, Logo = Logo, Denomination = tostring(Denomination) } })
end)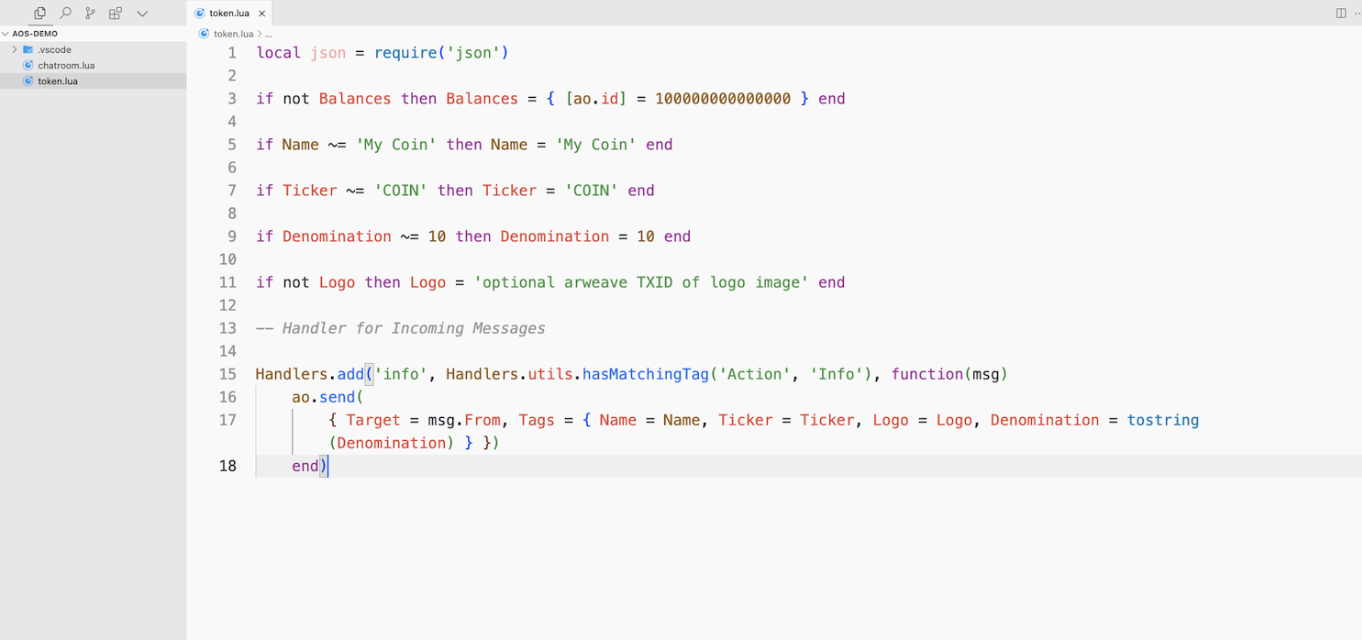
INFO
此时,你可能已经注意到,我们正在 token.lua 文件中构建所有 Handler,而不是使用 .editor。
对于许多 handlers 和进程来说,使用 .editor 创建 handler 没有任何问题,但由于我们正在创建一个完整的进程来初始化 token 、设置信息、处理余额、转移,和铸造 Handler,因此最好将所有内容都保存在一个文件中。
这么做是为了让我们保持一致性,因为每次我们将 token.lua 文件重新加载到 aos 中时,每个 handler 都会更新。
这段代码的意思是,如果有人发送一条带有标签 Action = "info" 的消息,那么我们的 token 将返回一条消息,其中包含所有之前定义的信息。注意的是, Target = msg.From,这是在告诉 ao 我们要回复向我们发送此消息的进程。
信息(Info)和 token 余额(Balance)的Handlers
现在我们可以添加两个用于提供 token 余额信息的 Handler。
Handlers.add('balance', Handlers.utils.hasMatchingTag('Action', 'Balance'), function(msg)
  local bal = '0'

  -- If not Target is provided, then return the Senders balance
  if (msg.Tags.Target and Balances[msg.Tags.Target]) then
    bal = tostring(Balances[msg.Tags.Target])
  elseif Balances[msg.From] then
    bal = tostring(Balances[msg.From])
  end

  ao.send({
    Target = msg.From,
    Tags = { Target = msg.From, Balance = bal, Ticker = Ticker, Data = json.encode(tonumber(bal)) }
  })
end)

Handlers.add('balances', Handlers.utils.hasMatchingTag('Action', 'Balances'),
             function(msg) ao.send({ Target = msg.From, Data = json.encode(Balances) }) end)
以上代码的第一个Handler Handlers.add('balance)' 处理来自某个进程或用户查询自身余额的请求,然后它会回复一条包含余额信息的消息。第二个Handler Handlers.add('balances)' 获取整个 Balances 表。
步骤 3:转账(Transfer) Handlers
在开始测试之前,我们将添加另外 2 个Handler,其中一个允许在进程或用户之间转移 token 。
Handlers.add('transfer', Handlers.utils.hasMatchingTag('Action', 'Transfer'), function(msg)
  assert(type(msg.Tags.Recipient) == 'string', 'Recipient is required!')
  assert(type(msg.Tags.Quantity) == 'string', 'Quantity is required!')

  if not Balances[msg.From] then Balances[msg.From] = 0 end

  if not Balances[msg.Tags.Recipient] then Balances[msg.Tags.Recipient] = 0 end

  local qty = tonumber(msg.Tags.Quantity)
  assert(type(qty) == 'number', 'qty must be number')

  if Balances[msg.From] >= qty then
    Balances[msg.From] = Balances[msg.From] - qty
    Balances[msg.Tags.Recipient] = Balances[msg.Tags.Recipient] + qty

    --[[
      Only Send the notifications to the Sender and Recipient
      if the Cast tag is not set on the Transfer message
    ]] --
    if not msg.Tags.Cast then
      -- Send Debit-Notice to the Sender
      ao.send({
        Target = msg.From,
        Tags = { Action = 'Debit-Notice', Recipient = msg.Tags.Recipient, Quantity = tostring(qty) }
      })
      -- Send Credit-Notice to the Recipient
      ao.send({
        Target = msg.Tags.Recipient,
        Tags = { Action = 'Credit-Notice', Sender = msg.From, Quantity = tostring(qty) }
      })
    end
  else
    ao.send({
      Target = msg.Tags.From,
      Tags = { Action = 'Transfer-Error', ['Message-Id'] = msg.Id, Error = 'Insufficient Balance!' }
    })
  end
end)
总之,这段代码会检查收件人标签 (Recipient Tag) 和数量标签 (Quantity Tag) 是否已提供。如果发送人和接收者的余额不存在,则初始化他们的余额。然后尝试将指定数量的 token 转移到接收者的余额账户。
Balances[msg.From] = Balances[msg.From] - qty
Balances[msg.Tags.Recipient] = Balances[msg.Tags.Recipient] + qty
如果转账成功,则向原始消息的发送者发送借记通知 (Debit-Notice),并向接收者发送贷记通知 (Credit-Notice)。
-- Send Debit-Notice to the Sender
ao.send({
    Target = msg.From,
    Tags = { Action = 'Debit-Notice', Recipient = msg.Tags.Recipient, Quantity = tostring(qty) }
})
-- Send Credit-Notice to the Recipient
ao.send({
    Target = msg.Tags.Recipient,
    Tags = { Action = 'Credit-Notice', Sender = msg.From, Quantity = tostring(qty) }
})
如果账户余额不足 (insufficient balance) ,则会发送交易失败的消息。
ao.send({
    Target = msg.Tags.From,
    Tags = { Action = 'Transfer-Error', ['Message-Id'] = msg.Id, Error = 'Insufficient Balance!' }
})
if not msg.Tags.Cast then 这行代码表示在 AO 协议中,如果设置了 Cast 标签就不会推送任何消息。
第 4 步:铸造(Mint) Handler
最后,我们将添加一个 Handler,用于铸造新的 Token。
Handlers.add('mint', Handlers.utils.hasMatchingTag('Action', 'Mint'), function(msg, env)
  assert(type(msg.Tags.Quantity) == 'string', 'Quantity is required!')

  if msg.From == env.Process.Id then
    -- Add tokens to the token pool, according to Quantity
    local qty = tonumber(msg.Tags.Quantity)
    Balances[env.Process.Id] = Balances[env.Process.Id] + qty
  else
    ao.send({
      Target = msg.Tags.From,
      Tags = {
        Action = 'Mint-Error',
        ['Message-Id'] = msg.Id,
        Error = 'Only the Process Owner can mint new ' .. Ticker .. ' tokens!'
      }
    })
  end
end)
这段代码会检查数量标签(Quantity Tag)是否已提供,然后将指定的数量添加到 Balances 表。
加载和测试
当你创建了 token.lua 文件,或者你使用了 .load-blueprint token 命令,那么你就可以开始测试了。
1 - 启动 aos 进程
确保你已通过在终端中运行 aos 来启动 aos 进程。
2 - 加载 token.lua 文件
如果按照操作指南进行操作,则在 aos 进程所在的目录中会有一个 token.lua 文件。从 aos 提示符处加载此文件。
.load token.lua3 - 测试 Token
现在我们可以从同一个 aos 提示符向我们的 aos 进程 ID 发送消息,以查看是否正常工作。如果我们将 ao.id 用作目标,那么我们就是在向自己发送消息。
Send({ Target = ao.id, Action = "Info" })这里应该会打印合约中定义的信息。检查最新收件箱消息以获取回复。
Inbox[#Inbox].Tags这里应该会打印合约中定义的信息。
INFO
为了确保你能准确查看最新消息,请先运行#Inbox查看收件箱中的消息总数。 然后,运行最后一个消息编号以查看数据。
** Example: ** 如果 #Inbox返回 5,则运行 Inbox[5].Data 查看数据。
4 - 转账
现在,尝试将 token 余额转账到另一个钱包或进程 ID。
INFO
如果你需要另一个进程 ID,可以在另一个终端窗口运行aos [name] 获取新的进程 ID。确保它与你当前使用的aos [name] 不同。
示例:
如果你在一个终端窗口中使用 aos,可以在另一个终端窗口中运行aos test获取新的进程 ID。
Send({ Target = ao.id, Tags = { Action = "Transfer", Recipient = 'another wallet or processid', Quantity = '10000' }})发送之后,终端会打印一条消息,发送方会看到类似于借记通知 (Debit-Notice) 的内容,而接收方则会看到贷记通知 (Credit-Notice) 的内容。
5 - 检查余额
现在你已经转了一些 token ,让我们检查一下余额。
Send({ Target = ao.id, Tags = { Action = "Balances" }})Inbox[#Inbox].Data你会看到两个进程 ID 或钱包地址,每个地址都显示余额。第一个应该是你的发送进程 ID,第二个应该是接收者的进程 ID。
6 - 铸造 token
最后,尝试铸造一些 token 。
Send({ Target = ao.id, Tags = { Action = "Mint", Quantity = '1000' }})然后再次检查余额。
Send({ Target = ao.id, Tags = { Action = "Balances" }})
Inbox[#Inbox].Data
然后你会看到铸造 token 的进程 ID 的余额增加了。
结论
“创建 token”指南到此结束。学习构建自定义 token 可以为你的项目释放巨大的潜力;无论你是想创建新货币、游戏 token 、治理 token ,还是任何其他你能想到的东西。